
Hold on, are you stuck with AngularJS? 😩
Remember those dial-up days? Yeah, me neither. But just like that clunky internet connection, AngularJS is a thing of the past. Now, we’ve got this shiny new upgrade: Angular! 🤩
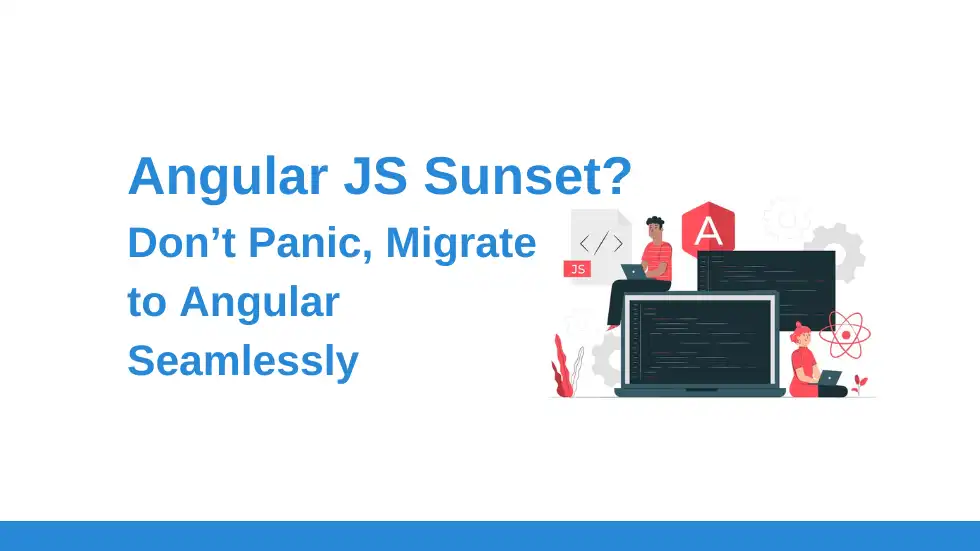
AngularJS, the popular JavaScript framework, was a game-changer when it was released, but technology never stands still. Angular, the successor to AngularJS, offers many advantages and improvements, making it a compelling choice for modern web development. If you’re still using AngularJS and considering migrating to Angular, this comprehensive guide will walk you through the process.
So, why Angular? And why now? 🤔
Let’s just say it’s not because Angular looks oh-so-groovy with its fancy Material Design. 😉 While that is a perk (hello, eye candy!), there’s more to it.
- Improved Performance: Angular is designed for faster execution, offering features like Ahead-of-Time (AOT) compilation and a more efficient change detection mechanism, resulting in enhanced application performance.
- Long-Term Support: Angular provides long-term support and regular updates, ensuring security, bug fixes, and access to new features. AngularJS reached its end of life in 2021, leaving applications vulnerable without ongoing support.
- Structured Codebase: Angular enforces a structured, component-based architecture, making code more organized and maintainable, essential for large and complex applications.
- Access to a Robust Ecosystem: Angular benefits from an active and extensive ecosystem of libraries, tools, and community support, enabling developers to leverage a wide range of resources for building and enhancing applications.
How do I even start this migration monster? 😨
Don’t worry; I won’t throw you in the deep end. We’ll start with a baby migration plan. We’ll assess your app, update its dependencies, and maybe even dip our toes into some basic code examples. Just to get the feel of things, you know? 😎
Step 1: Assess Your Application
In this step, you assess your existing AngularJS application to understand its structure and dependencies. This evaluation will help you plan the migration process effectively.
- Identify Dependencies:
List all the dependencies used in your AngularJS application. This includes third-party libraries, custom directives, and modules. For example:
// AngularJS Module
var myApp = angular.module(‘myApp,’ [‘route, ‘ngResource,’ ‘custom directive’]);
2. Assess Application Complexity:
Evaluate the size and complexity of your application by analyzing the codebase. Identify any non-standard patterns, complex controllers, or heavily nested views.
Step 2: Create a Migration Plan
Develop a comprehensive plan to guide your migration process.
- Budget and Timeline:
Define your budget and establish a realistic timeline for the migration. Adequate resources and time allocation are crucial to avoid rushing through the process.
2. Testing Strategy:
Develop a testing strategy, starting with unit tests for AngularJS components:
describe(‘Controller: MyController’, function () {
var $controller;
beforeEach(module(‘myApp’));
beforeEach(inject(function (_$controller_) {
$controller = _$controller_;
}));
it(‘should initialize the controller’, function () {
var $scope = {};
var controller = $controller(‘MyController’, { $scope: $scope });
expect(controller).toBeDefined();
// Add more test cases as needed
});
});
3. Team Training:
Invest in Angular training or workshops to ensure your development team knows Angular and its best practices.
Step 3: Update Dependencies and Choose Angular Version
- Update Dependencies:
Ensure your dependencies are up-to-date. Use the latest versions of AngularJS libraries and check for compatibility with Angular.
2. Choose Angular Version:
Select the version of Angular that best suits your application’s needs. For instance, you might choose Angular 13. Keep an eye on Angular’s official documentation for updates and release notes.
Step 4: Manual Migration with Code Examples
In this step, we migrate specific parts of your AngularJS application to Angular.
- Modules:
Create Angular modules to encapsulate features and dependencies, just like AngularJS modules. Here’s an example:
// Angular Module
import { NgModule } from ‘@angular/core’;
@NgModule({
imports: [
// Angular Modules
BrowserModule,
FormsModule,
RouterModule.forRoot(routes),
],
declarations: [
// Angular Components
AppComponent,
MyComponent,
],
})
export class AppModule {}
2. Components:
Rewrite AngularJS controllers as Angular components. Components are a key building block in Angular. Example:
AngularJS controller:
app.controller(‘MyController’, function () {
this.message = ‘Hello from AngularJS!’;
});
Angular component:
import { Component } from ‘@angular/core’;
@Component({
selector: ‘app-my-component,’
template: ‘<div>{{ message }}</div>’,
})
export class MyComponent {
message = ‘Hello from Angular!’;
}
3. Services:
Replace AngularJS services with Angular services and use Angular’s Dependency Injection system. Example:
AngularJS service:
app.service(‘myService’, function () {
this.getData = function () {
return ‘Data from AngularJS Service’;
};
});
Angular service:
import { Injectable } from ‘@angular/core’;
@Injectable({
provided: ‘root,’
})
export class MyService {
getData() {
return ‘Data from Angular Service’;
}
}
4. Templates:
Rewrite AngularJS templates to Angular templates using Angular’s HTML and template syntax. Replace AngularJS directives with Angular’s built-in directives:
AngularJS template:
<div ng-repeat=”item in items”>
<span>{{ item.name }}</span>
</div>
Angular template:
<div *ngFor=”let item of items”>
<span>{{ item.name }}</span>
</div>
Step 5: Testing, Integration, and Optimization
- Thorough Testing:
Test your migrated components, services, and modules to ensure they function as expected. Here’s a Jasmine/Karma example for testing an Angular component:
describe(‘MyComponent’, () => {
it(‘should create’, () => {
const fixture = TestBed.createComponent(MyComponent);
const component = fixture.component instance;
expect(component).toBeTruthy();
});
});
2. Gradual Integration:
Instead of migrating the entire application simultaneously, you can gradually integrate Angular components into your AngularJS application, testing and monitoring their interaction at each step.
3. Optimize for Performance:
Utilize Angular’s performance optimization features, such as lazy loading modules, tree-shakable dependencies, and efficient change detection mechanisms, to enhance your application’s performance and maintainability.
And what about testing? I don’t want to break anything! 💥
Testing is your best friend in this migration journey. We’ll write tests for everything, from your spanking new Angular components to those slightly less modern AngularJS buddies. We’ll make sure everything works harmoniously, like a perfectly tuned orchestra. 🎶
So, are you ready to ditch the dial-up and embrace the fibre optic speed of Angular? Let’s do this! 🚀